Ridge Path or Valley Track: Choosing a Route to Read the Land
Choose a ridge path or valley track to read landforms, water and settlement from the right viewpoint, with a clear method for choosing a suitable route.
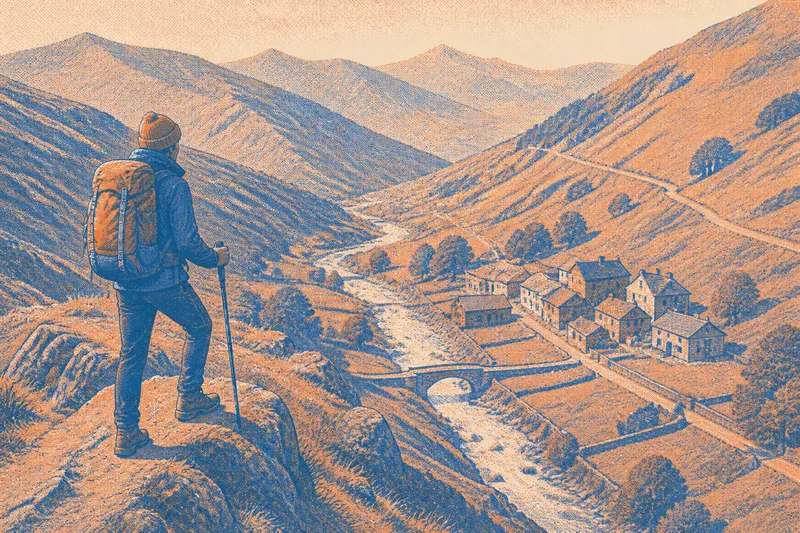
Should you take a ridge path or a valley track to understand a landscape? A ridge path gives you a broad view of slopes and settlement; a valley track brings you close to streams, crossings and the ground routes must negotiate. Your choice depends on what you want to see and which permitted route suits the conditions.
Match route to question
Choose one feature to follow before you set out. From a ridge, you can compare slopes and see where a settlement or road sits in the wider terrain. In a valley, you can inspect the relationship between water, crossings and a route on the ground.
- Drainage divides: If you want to trace where water flows away in different directions, choose an established ridge path; if the ridge is exposed or unsuitable, use a safe viewpoint or study the contours instead.
- Stream crossings: If you want to see a bridge, ford or path approach, choose a permitted valley route; if the crossing is closed or looks unsafe, do not approach the water—turn back or choose another route.
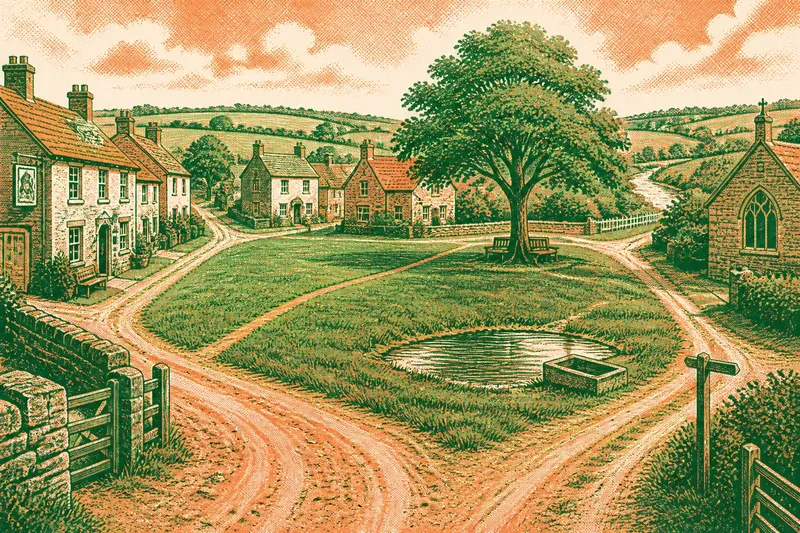
- Settlement setting: If you want to compare a village with nearby slopes and valleys, choose a ridge viewpoint; if you want to examine buildings beside one stream or road, choose a valley path.
- Slope shape: If you want to compare whole hillsides, look from a ridge; if you want to see where one slope meets the valley floor, choose a valley route.
- Restricted visibility: If cloud or haze would hide the distant view, consider a familiar, sheltered valley path only if access and ground conditions are suitable; otherwise postpone the walk.
- Unfamiliar ground: If access information is unclear or a route depends on an apparent shortcut, choose a clear established path with reliable local information; if none is available, select a different area.
Before deciding, check access notices, route descriptions and current local conditions. Contour lines help compare slopes: close lines indicate steeper ground, while wider spacing usually marks gentler ground. They do not establish that a mapped track is open or passable, so verify the route separately.
What will each show?
Which route shows drainage divides?
A ridge path usually makes a divide easier to trace because slopes fall away on either side. From a valley track, you are closer to the watercourse those slopes feed.
Which route reveals a stream crossing?
A valley track brings the crossing and its approaches into view. If the water is moving strongly, the crossing is closed or the banks appear unstable, do not enter; turn back or use another permitted route.
Which route helps explain a settlement?
A ridge viewpoint helps place a settlement among neighbouring valleys, slopes and routes. A valley walk shows how buildings sit beside a particular watercourse or corridor.
Can one route show both views?
A permitted path linking valley and ridge can connect close detail with a wider view, if its climb and conditions suit you. Otherwise, treat them as separate observations and compare their positions on a map.
Read the ridge
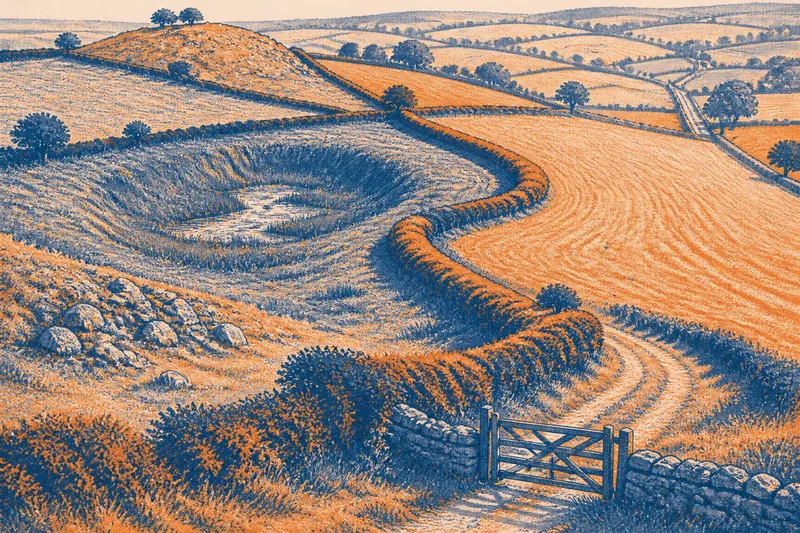
From high ground, look for a spur projecting into a valley, a side valley cutting into a slope or a flatter shelf interrupting a descent. These shapes help you see how the larger landform is arranged. A clear view may also reveal branching tributary valleys and the lower ridges that guide water towards a main stream.
Ridges can clarify relationships between features. A road may climb towards a pass; fields may occupy gentler ground and stop where slopes steepen. These are clues about how routes and land use fit the terrain, not proof of why a road or settlement was placed there.
Height also hides detail. The crest may screen a small stream, wall or bend in a track, while cloud, haze or wind can make an exposed viewpoint less useful. If your question concerns a crossing or the foot of a slope, a high view may not answer it.
Read the valley
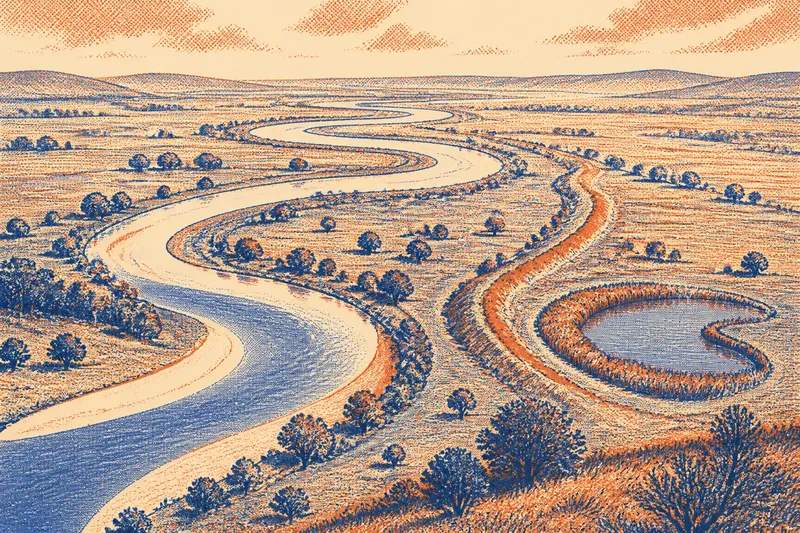
A valley track gives you a closer look at stream banks, bridges and the way a path meets the ground. You may notice a track rise onto firmer ground, bend around a wet patch or leave the water before entering a narrow passage. These details show how movement is channelled through the valley, though conditions can change with weather and season.
Look up as well as along the route. Compare the two valley sides and note where side valleys join the main corridor. A settlement may occupy a flatter patch beside the stream, while a road takes a higher line. From the valley floor, those local relationships are often easier to inspect than from a distant ridge.
Trees, buildings and bends may block the view, and low ground can be muddy or flooded. If you want to compare a whole basin or several ridges, the valley’s close detail may come at the cost of a wider outlook.
Join the viewpoints
Say you want to understand the setting of an invented hamlet beside a stream. Your starting information is a map showing the hamlet, a valley track, a marked route climbing to a ridge and a road crossing the stream. First, check that both paths are permitted and that local conditions make them suitable. On the valley track, note whether the buildings sit beside the water and where the road crosses it. Then follow the marked climb only if it remains appropriate, and look from the ridge at the hamlet’s position among the surrounding slopes and passes. The resulting account distinguishes local relationships from the wider setting; it still cannot tell you why the hamlet was first built there.
You do not need to combine both perspectives in one outing. A separate ridge walk and valley walk may leave more attention for each view. Skip a dramatic summit or long detour if a modest rise shows the divide, or a low path gives you a clear view of the crossing you came to inspect.
For a ridge path or valley track, choose by the question you want the ground to answer: relationships across slopes favour the ridge, while water and close-set routes favour the valley. Check access and conditions first, then make a note of the viewpoint or track section; that small detail helps you compare what you saw with the mapped terrain later.